Working with terrain textures in Cubiquity for Unity3D

Over that last month we’ve been improving the user interface and editing capabilities of our Cubiquity voxel terrain system. In our last video we demonstrated sculpting the shape of the terrain, and the video below shows how you can now paint materials onto the terrain as well.

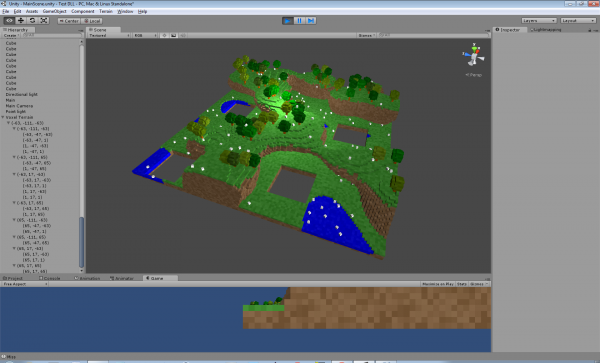
As you can see, we’ve significantly improved the interface such that it is now quite similar to the one which comes with Unity’s built-in terrain. It offers many of the same features in terms of being able to select brush size and shape, and choosing from a variety of materials which can be painted onto the terrain. You get a similar marker on the terrain showing where operations will be applied and you can change texture settings such as scale and offset.

As always, you can get the latest version of the code from our BitBucket repository.

Overall we’ve very happy with the way this is coming together. At this point I think we’ve implemented most of the features which we want in place for the first release, and so we will now focus on tidying up the code and documenting the system. Then we’ll talk to those nice people at Unity about getting on the Asset Store 🙂

Share

Sculpting smooth voxel terrains in Unity3D

Several months ago we demonstrated that Cubiquity supports smooth voxel terrain (based on Marching Cubes) in addition to the ‘colored cubes’ style voxels which we’ve been showing off more recently. Both of these styles are first-class citizens in the Cubiquity system, and so over the last couple of weeks we’ve started exposing this smooth voxel terrain to Unity3D as well. Here’s a video of real-time voxel terrain sculpting in action:

At the moment it is only possible to sculpt the shape of the terrain and not yet paint textures onto it. We do already support textures in Cubiquity (as seen here) so this will be the next thing which we expose to Unity3D. At that point the system will have most of the features which we want in place before releasing the free version on the Asset Store. We’ll spend a couple of months polishing the user interface and code and then submit it to Unity Technologies for approval.

For those users who are feeling more brave and don’t want to wait for the official Asset Store release, the functionality in the video is already available for testing in our BitBucket repository. You might also want to watch our previous ‘Introduction to Cubiqity for Unity3D‘ video first, and then follow up with the smooth terrain video above.

Hope you like it – feedback is welcome as always!

Share

Cubiquity for Unity3D is now hosted on BitBucket

I’m pleased to announce that today we are bringing Cubiquity for Unity3D even closer to reality, as an early version of the code is now available on BitBucket. This means you are able to download and play with the system immediately, as well as follow progress and get access to new features as soon as they are implemented. You can use the system with both the Free and Pro versions of Unity3D.

To start playing with it you should clone the BitBucket repository or download the snapshot as a ZIP file:

The repository contains all the C# and shader code required to work with Cubiquity, and it also contains a copy of the Cubiquity native code DLL. However, it does not contain the the source code used to build the DLL as we are not making this publicly available. You can use the provided DLL for free for both commercial and non-commercial purposes, but the size of the volume is restricted to 256x256x256 voxels. In the future it will be possible to buy a license to raise this limit.

We’ve created a video which gives an overview of the system and shows how to perform basic tasks such as creating a volume, modifying it in the Unity editor, and interacting with it at runtime. The documentation is rather thin at the moment so the video is worth a watch:

Feel free to play around with it, though be aware that APIs and file formats are still subject to change as the project evolves.

What next?

The system is a little rough round the edges and needs some polish to bring it to a production ready state. However, before we get to this we intend to spend some time exposing the smooth terrain capability of Cubiquity as we have not yet tested this within Unity3D. We want to ensure that both terrain types (cubic and smooth) work with any patterns and paradigms we introduce.

Roughly speaking we would like to get the smooth terrain working by the end of September (we have an ulterior motive here which I’ll talk about in a later post), and then we’ll get to work on bringing it to a production ready state. We’re developing it in public so that users can test the system at any time, and can consider buying a license when ever they feel it has the features and capabilities they need.

Share

More progress with the Unity3D integration

I’m pleased to say that we’re still making good progress on Cubiquity and it’s integration with the Unity3D game engine. Over the last few weeks we’ve imported a new map from the game Build & Shoot, integrated explosions from Unity’s Detonator package, and a got a new tank model (one that actually looks like a tank!) from the asset store. The results can be seen below 🙂

We’ve had loads of fun blowing stuff up so we thought you might like to try it for yourselves. You can download the standalone demo below (you don’t need Unity to run this):

Anyway, this project is really starting to take shape. We’re keen to get something in the hands of users as soon as we can, but we feel it’s still to early to put it on the asset store. Therefore we are currently planning to open up the code for this integration package and put it on BitBucket alongside PolyVox. This will let you download and play with early versions of the code, but it will still be dependant on the closed source Cubiquity.dll.

The Cubiquity.dll itself will also be free, but functionality will be limited unless you purchase a license. The primary restriction will be on the size of the volumes which can be loaded but the exact details haven’t been decided yet. We hope that this will encourage people to download and test the system, and then purchase a license if they feel it meets their needs.

Hopefully we can get the code out in the next few weeks so stay tuned!

Share

Integrating Cubiquity with Unity3D physics

Time for another update on the Unity3D integration 🙂 Over the last couple of weeks we’ve been mostly focused on getting Unity’s collision and physics system working with the data which comes out of PolyVox/Cubiquity. You can see in this video it has come together quite nicely:

As you can imagine, it is spawning cube meshes to replace the destroyed voxels and then applyng forces to them to simulate the explosion. Unity’s physics system then takes over to handle the collision response and bounce the cubes around the terrain. The current implementation is not optimal as it just uses the rendered mesh as a collision mesh (there exist more efficient approaches) but for now we’re just trying to get the various pieces of the system in place.

If you want to play with this yourself then you can download the latest test build below:

Note that this is a Unity project so you’ll need Unity installed to run it. You then need to open the project, open the only scene, go to ‘Cubiquity->Import Colored Cubes Volume from VolDat’ from the main menu and then press Play.

I’ll try to provide a stand-alone test in the future but I need to work out some stuff about packaging resources first. In the mean time let us know if you have any questions or feedback.

Share

A very early test build of the Unity3D integration is now available!

After much waiting I’m pleased to say we are now making available the first test release of our Cubiquity and Unity3D integration. It’s hard to overstate how much this is simply a proof of concept, but with that in mind it does work pretty well. The test basically allows you to drive a tank around a small voxel arena and destroy the environment in real time. See the video below:

Getting this far has taken longer than expected, basically due to a lack of familiarity with Unity. It’s a very nice system but a few things take some getting used to. I was also under the mistaken impression that Unity Pro would let us use our C++ code directly, where as in reality you have to wrap it in a C API and build a .dll which you load at runtime. This was some extra work but at least it is done now.

It works with Unity Free!
The unity documentation states that plugins are a Pro-only feature, but I was pleased to find that Unity Free also supports them via a simple work around (see ‘download’ section below). I’m not sure how legitimate this is but it does at least mean we can make the system available to Unity Free users for testing. Our plan is therefore to release a free version of our plugin so that users can become acquainted with the system before they buy. This version will probably be limited in volume size or something… exact details are still to be decided.

What can I do with it?
This test version lets you play around in the ‘tank arena’ shown in the video above. If you’re feeling adventurous you can make some tweaks to GameLogic.cs but it may crash at some point (and take Unity with it!). The integration code is not yet in a separate library so you can’t easily drop it into your own projects, but that will come soon.

Download
You can download the Unity project at the link below:

http://www.volumesoffun.com/downloads/Cubiquity/CubiquityUnity3DTest.zip

If you have Unity Pro you can probably just unpack the zip file, load the main scene, and press play. However, this is untested as I don’t have Unity Pro, so please let us know if it doesn’t run.

If you have Unity Free you need to move ‘CubiquityC.dll’ from ‘assets/plugins’ into your system folder. This means placing it in ‘Windows/SysWOW64’ folder on a 64-bit system (tested) or ‘Windows/System32’ on a 32-bit system (untested). I need to do some more experiments to determine if there are better options like just placing it alongside your executable.

Anyway, I’ll leave it at that but do let us know what you think or if you have any problems/suggestions.

Share

Unity3D integration update

The last few weeks have seen some more work on integrating Cubiquity with Unity3D. The screenshot in the last blog post was actually a single large mesh which made it difficult to modify, but it’s now being properly broken down into a number of small meshes which can be updated individually when their voxels change. So everything is a lot more dynamic now.

Physics objects bouncing around a voxel terrain.

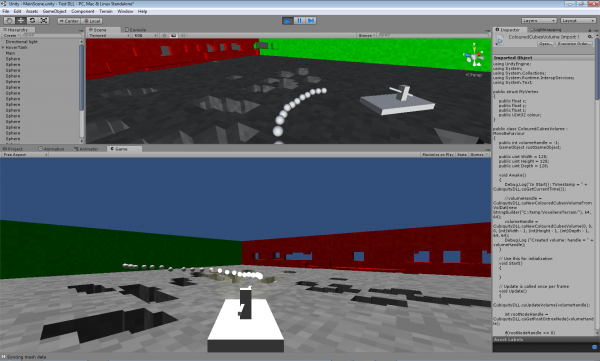
The meshes are also now fed into Unity’s physics system so that they can be used as colliders. Also raycasting functionality has been exposed and these capabilities have been combined in the extremely simple ‘game’ you can see in the screenshot below. The tank can be controlled by the keyboard while the mouse aims and shoots.

The tank is a physics object so you can shoot holes in the ground and then fall into them.

So a lot of stuff is starting to come together, though I must emphasise that it’s still very much a proof-of-concept. The main issue is that we are still new to Unity, and so not exactly sure how it should be integrated. Currently there is only an interface for programmers as we need to think how this gets integrated with Unity’s edit mode.

Anyway, we’re thinking about releasing a ‘preview’ version (for free) in the next couple of weeks to get some initial feedback. I just need to look at how this stuff is supposed to be packaged up, as well as polishing a few bits of the system. Stay tuned!

Share

Unity integration – finally some progress!

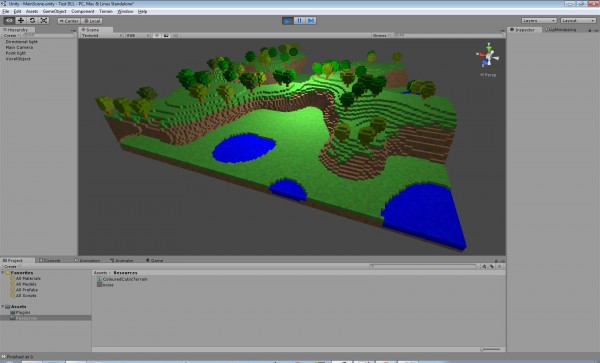
We’ve been talking about Unity integration for months, but today I can finally prove that we’re working on it 🙂 The screenshot below shows a simple terrain loaded by Cubiquity, with the data then passed through the plugin interface and rendered by Unity:

Unity3D Cubiquity integration

I had never worked with Unity before attempting this so there has been a lot to learn. I knew that Unity used .NET for scripting and that ‘C++ support’ was only available in the Pro version, but I had assumed that once you had this you could write your games in C++ using Unity as a library. But as anyone who has actually used it knows, that’s not how it works at all.

The way it works instead is that C++ code can be complied to plugins which can then be loaded at runtime. One limitation here is that you have to provide a C API (or at least avoid name-mangling issues) whereas Cubiquity is written in nice templatised C++. So some time has had to be spent creating a C interface to this. Actually there are other options such as C++/CLR, but the C API seemed like it would have the most value in other scenarios.

On the plus side, it turns out that loading plugins does actually work in the free version of Unity (with limitations) so those users will still be able to try out the system when we produce a test version.

Anyway, it’s very much a proof of concept at the moment but it does look like it’s going to work. I can see now that it will take a little longer than we originally thought but I still hope we’ll have a lot more to show off in the coming months.

Share

Python bindings for PolyVox preview

As part of the next release of PolyVox, we’re going to have the first Python bindings available and supported as well as preliminary support for C♯ bindings. This will allow easy integration of voxels into the technologies you’re already using.

History

For a long time now (at least 4 years) we’ve had some form of Python bindings available for PolyVox, created via the SWIG tool. If you were paying attention in those days, you would have seen that the bindings were often broken or even disabled from building completely. This was largely due to the fact that PolyVox was a fast-developing piece of software without a stable API. We didn’t want to slow down the development of new features by having the impedance of also having to update the bindings.

However, since we starting making proper numbered releases (beginning with 0.2.0 last year) the API has settled down and we’re making promises about how much (or little) it will change. This makes it a much more suitable target for building bindings to other languages.

Current status of Python bindings

My main target for the next release of PolyVox (0.3 when it’s out) has been improving and polishing the bindings for Python. In addition to the Python bindings, I have also enabled the building of C♯ bindings for those who would like to try those out too. The Python bindings are better supported however (we have nightly tests run on them, documentation and a demonstration example) and are less liable to change.

If you’re interested in taking a look, then I’ve uploaded a first draft of a section documenting the Python bindings which introduces the bindings and goes through a short code example. That short example is expanded as a full example in the usual example location, PythonExample.py, which renders a blocky sphere to the screen using Python, PyOpenGL and PyGame without a single line of C++ needing to be written.
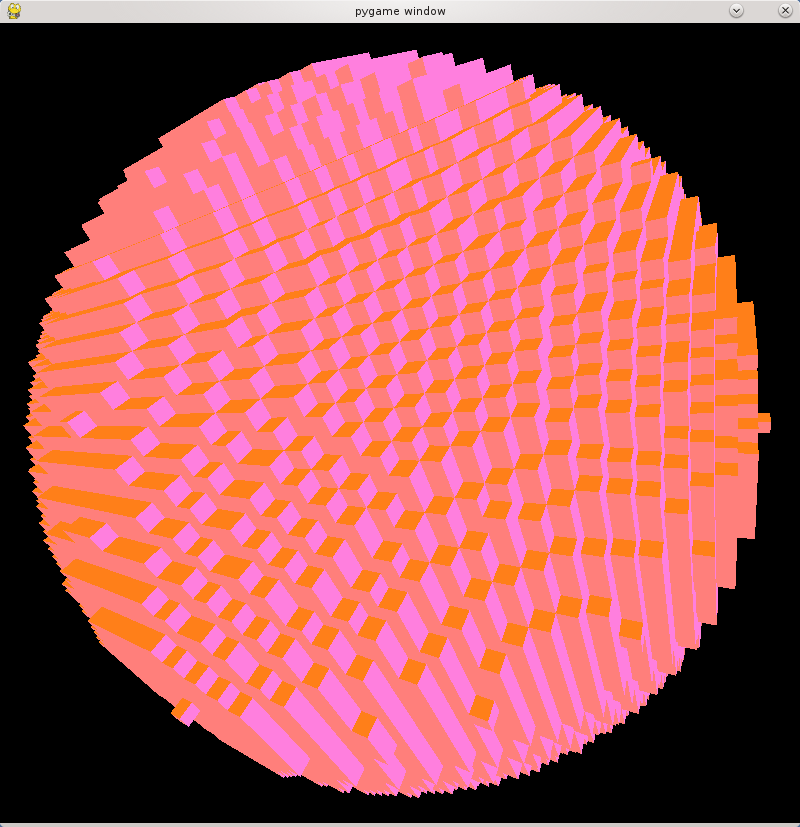
Voxel sphere rendered by Python

A voxel sphere rendered though PyOpenGL

For example, creating a volume is as simple as

import PolyVoxCore as pv

r = pv.Region(pv.Vector3Dint32_t(0,0,0), pv.Vector3Dint32_t(63,63,63))
vol = pv.SimpleVolumeuint8(r)

You can set the value of any voxel with a single call like:

vol.setVoxelAt(x, y, z, 10)

and you can extract a polygon mesh to be passed to your 3D engine of choice with

mesh = pv.SurfaceMeshPositionMaterialNormal()
extractor = pv.CubicSurfaceExtractorWithNormalsSimpleVolumeuint8(vol, r, mesh)
extractor.execute()

The unusually long names for the classes is an artefact of SWIG being able to represent all the varieties of C++ template instances. You’ll also notice that the API is not very Pythonic at present. I’m trying to get all the functionality working before adding another layer of Pythonicness.

All of the above is already in the develop branch of Git already so feel free to try it out. If you have any question please do ask in the comments below or in the forums.

In a future post I’ll detail some of the technical challenges I’ve faced to get all of PolyVox’s functionality working in both Python and C♯ via SWIG.

Share

A quick update and some new screenshots

I thought I’d write a quick update on where we stand with our various projects as I feel like we’re juggling a dozen things at a time here 🙂 I’ve thrown in some pictures to spice it up a bit, but if you want to see these when they are fresh then be sure to follow us on Twitter.

Cubiquity

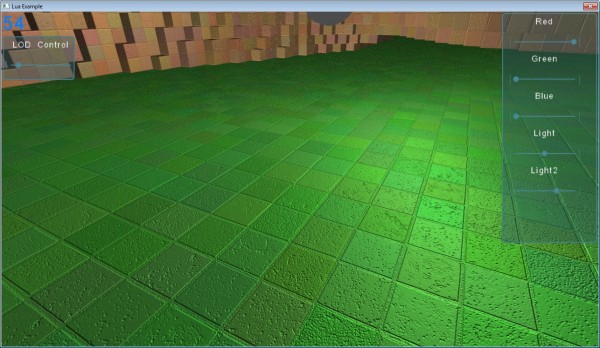
Since the first tech demo we have implemented threading in Cubiquity so that surface extraction can be performed in the background. This improves loading times and responsiveness but currently it only works with PolyVox’s SimpleVolume, which limits the amount of volume data we can load at a time. I’ve also done some work overhauling the shaders so that normal mapping is now supported, and hopefully this will get improved further in the future.

Normal mapping the voxels in Cubiquity

PolyVox

The most significant addition to PolyVox is that the LargeVolume class now supports plugable compression code. We’ve also provided an implementation based on the miniz library. This works well for smooth terrain while the existing RLE compressor can be used for cubic ‘Minecraft style’ terrain.

Next up we need to improve the thread safety of the LargeVolume as this has been requested many times, and we’re starting to need it for Cubiquity (as mentioned above).

VolDat

We’ve received some feedback about the format and will do a proper post about this soon. The main issues raised are paging for very large volumes (probably beyond the scope of what we are aiming for here) and also an existing similar format (but it doesn’t make the slice data easy to visualise). We’ve also bee working on some test data sets which we will make available as part of an online archive. A couple of examples are below:

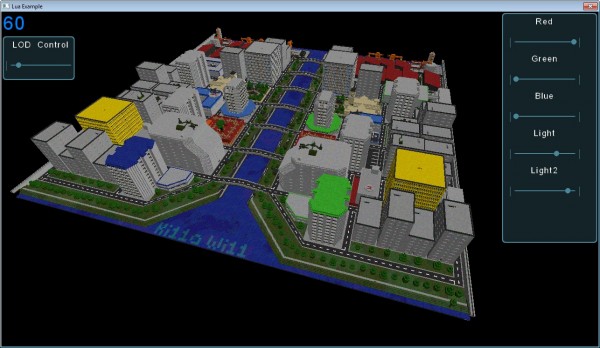
A ‘Build and Shoot’ map loaded into Cubiquity. Source data is here: http://www.buildandshoot.com/viewtopic.php?f=8&t=913

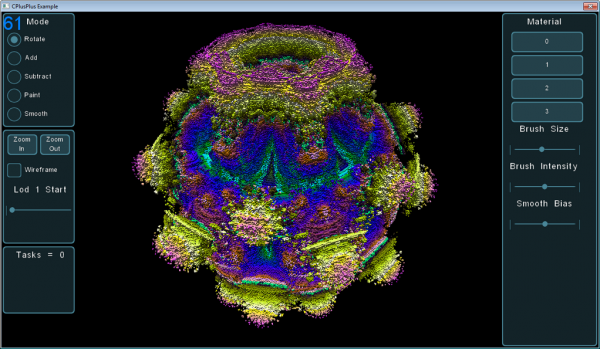
I wrote a program to create a Mandelbulb as these can be very large and still have fine detail. This one is only 512x512x512 though.

Unity3D

I downloaded Unity and had a play with it last weekend. It’s a really cool system, and I can see why it’s got such a big following as it makes development really easy. Integrating Cubiquity is a bit more difficult than I hoped as it turns out that plugin .dlls need to provide a ‘C’ interface (not C++) so we’re having to create a wrapper for Cubiquity. This takes a bit of time but shouldn’t be a big problem over all.

That will do for now – see you next time 🙂

Share